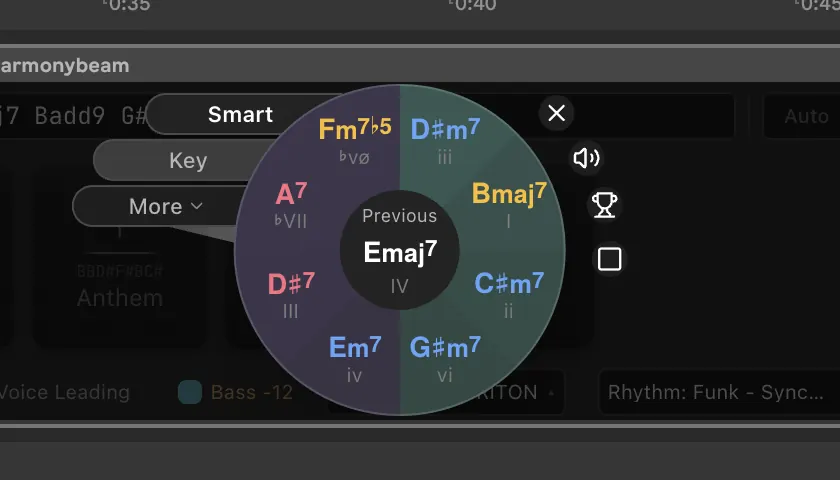
If you write music in Ableton Live, chords can become strangely annoying for something so basic. Live is excellent at arranging, recording, warping, resampling, routing, mangling audio, and so on. But its piano roll is famously basic, and when you are sitting in front of an empty session trying to create a lively chord progression, the workflow can feel a bit underdeveloped.
That is why people keep looking for an Ableton chord progression generator. Not necessarily because they want software to write the song for them. More often, they want something less dramatic: a faster way to get from “Let’s try this idea” to “these chords are worth building around.”
There are a few ways to do it. Some are built into Live. Some can be found outside Live. Some are good for learning, some are good for sketching, and some are good when you already have a progression but need it to behave better in the track.
Below are five practical approaches, with the tradeoffs that matter when you are actually making music rather than browsing plugin lists at 1 a.m.
1. Use Ableton’s stock MIDI effects
Ableton already includes MIDI effects that can help with harmony. The Chord device can add intervals to incoming notes. Scale can keep notes inside a chosen key. Arpeggiator can turn held notes or chords into rhythmic patterns. In Live 12, many pitch controls are scale-aware, so transpositions can follow the current clip scale instead of raw semitone offsets.
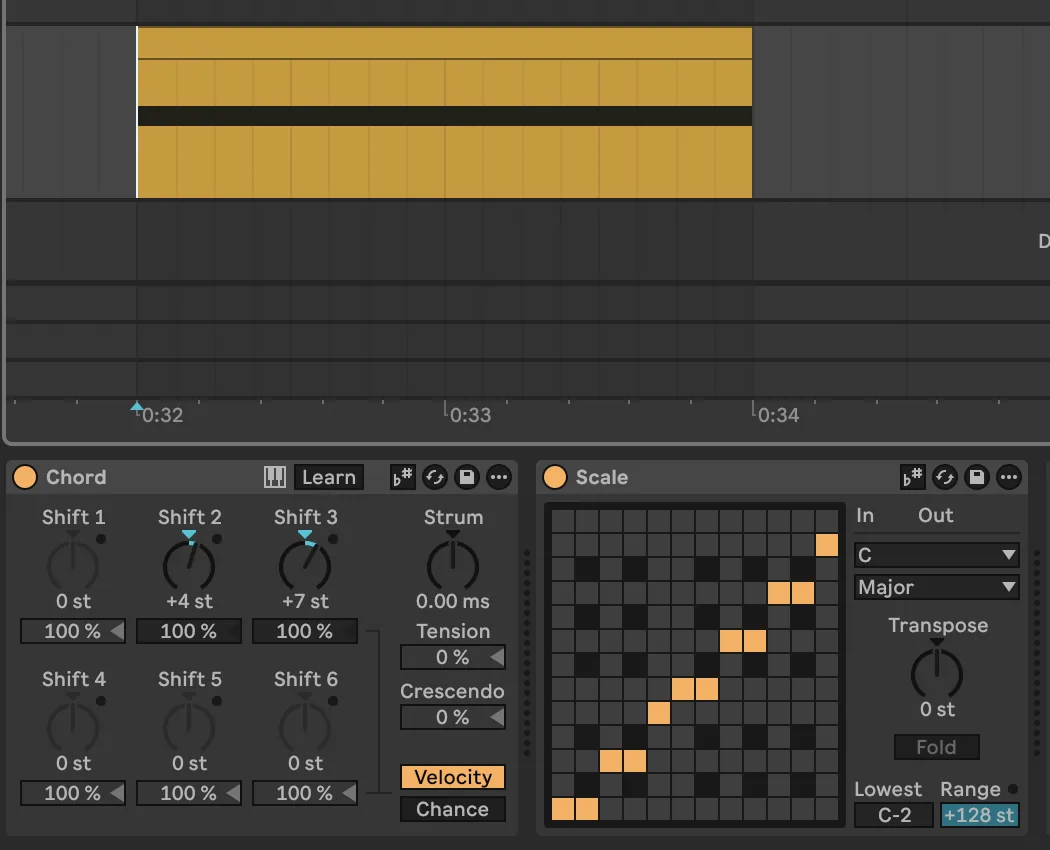
Ableton’s own manual is worth reading here, especially the Live MIDI Effect Reference.
The advantage: these tools are already in Live. They are right there, available to use, stable, and flexible. You can build a rack that turns one MIDI note into a chord, constrain it to a scale, then feed it into an arpeggiator or synth.
The catch is that this is not really a chord progression generator in the songwriting sense. It is a set of MIDI processors. You still have to decide the harmonic movement yourself, or build a rack that encodes your choices indirectly. That can be fun if you like patching systems. It can also become a small modular tax on a simple writing session.
Best for:
- building playable chord racks
- staying inside stock Ableton Live
- turning simple MIDI input into thicker harmonic material
- scale-constrained experimentation
Less good for:
- quickly sketching a complete progression
- editing named chords directly
- experimenting with many different ideas
2. Live 12 MIDI Generators and Transformations
Live 12 added a more explicit MIDI Tools workflow, split into Transformations and Generators. Ableton describes Transformations as tools for changing existing MIDI notes, while Generators create new material in the clip or time selection.
Ableton’s MIDI Tools manual explains the workflow in more detail.
This is the most native answer if you want generative MIDI inside Live. It also fits Live’s existing clip workflow. You open the MIDI Tool panel, choose a generator or transformation, tweak the controls, and apply the result to the clip.
For chord work, the strength is that these tools are close to the piano roll. They are part of the clip-editing process rather than a separate plugin universe. If you like generating a phrase, then immediately trimming, moving, muting, and editing notes, this feels natural.
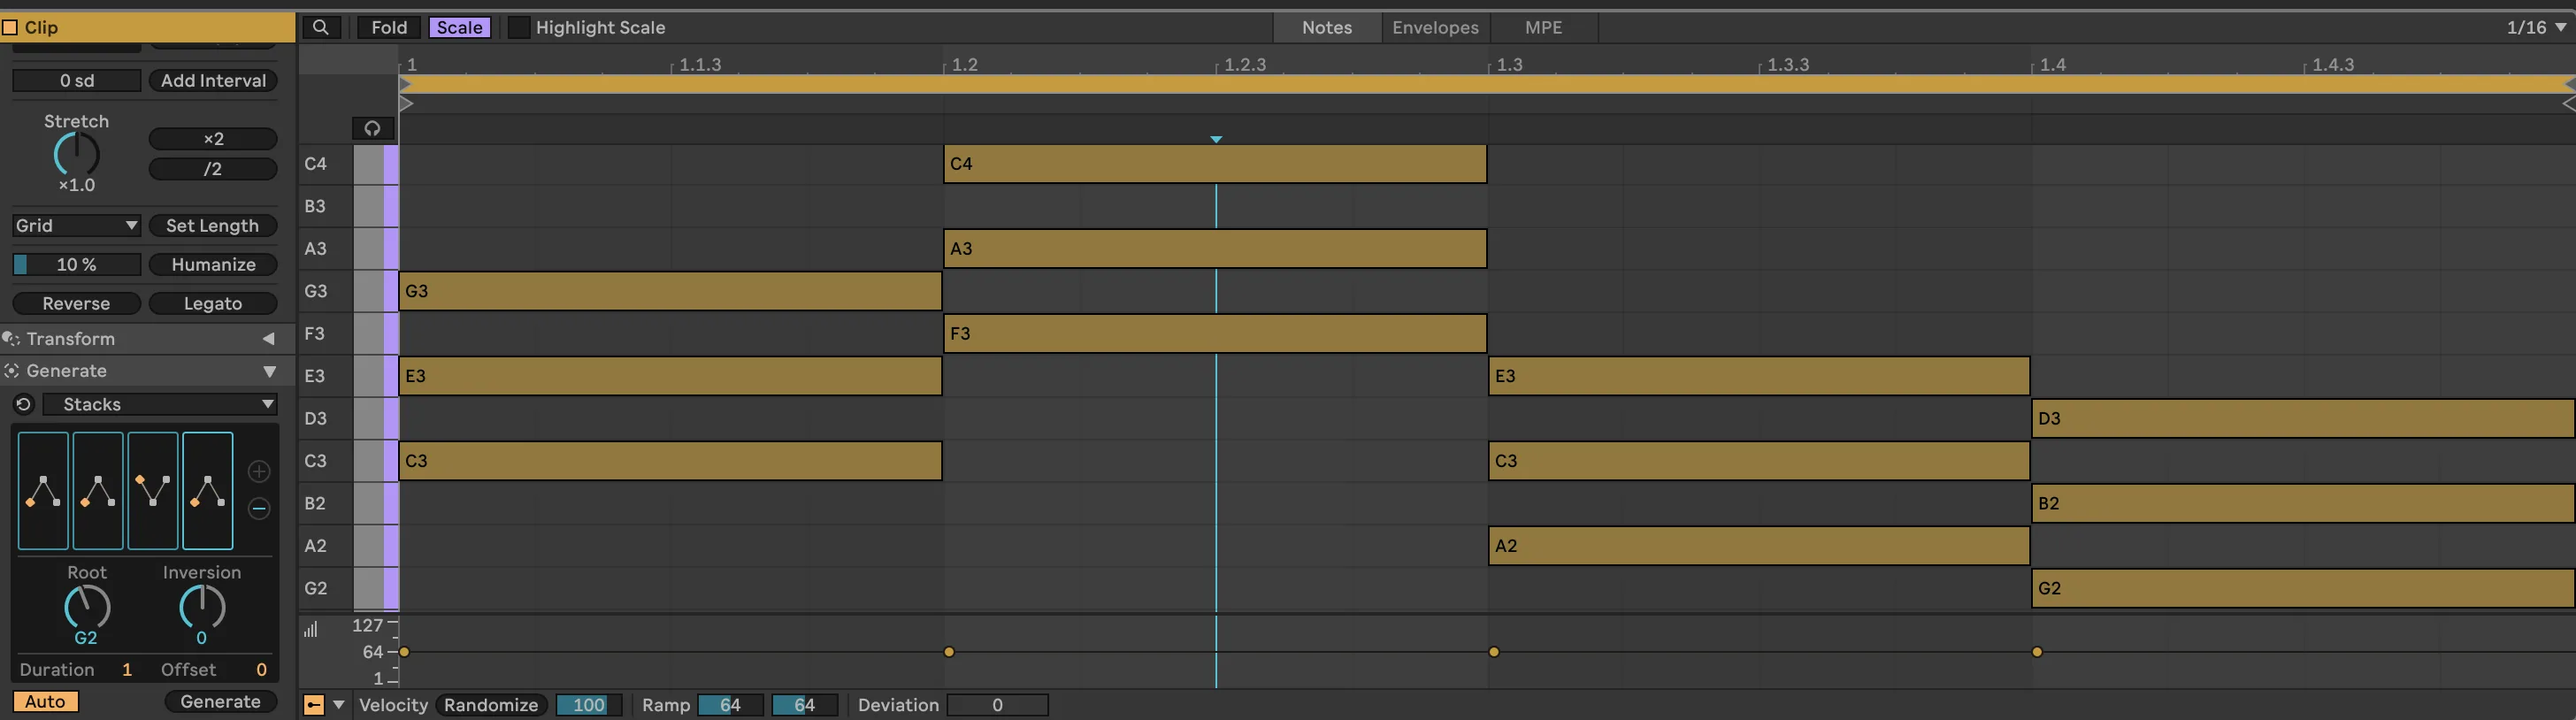
The limitation is that MIDI Tools are still note-first. They can generate or transform MIDI, but they do not necessarily give you a dedicated harmonic workspace where you can type “Cmaj”, then try out different voicings, or get more ideas about where to go next.
Best for:
- Live 12 users who want native generation
- transforming existing clips
- fast clip-based experiments
- scale-aware MIDI edits
Less good for:
- chord-symbol workflows
- managing progression structure
- making lots of harmonic alternatives without editing individual notes
3. MIDI packs and progression libraries
MIDI packs are the blunt instrument version of the problem. You drag in a progression, change the key, edit a few notes, and move on. Honestly, that is sometimes enough.
The best thing about MIDI packs is speed. A good pack gives you genre-shaped material with no setup. You can audition a dozen progressions quickly, steal a rhythm, keep the first two chords, replace the rest, or just use it as a harmonic sketch while you work on sound design.
The obvious problem is sameness. MIDI packs often feel more like browsing presets than writing. You may find something usable, but it usually belongs to the pack before it belongs to your track. The more specific the genre, the stronger that feeling gets.
They also make tinkering more annoying. You will have to keep copying and pasting bits and pieces in the piano roll, transpose notes, move octaves and chords around. Menial work that gets old after a while.
Best for:
- quick sketches
- genre references
- beginners learning common progressions
- getting unstuck fast
Less good for:
- building a progression that responds to your current idea
- making structured variations
- learning why the chords work
4. Online chord progression generators
Online chord progression generators are useful, especially outside the studio. You choose a key, genre, or mood, click a button, and get a sequence of chords. Some are basic. Some show Roman numerals, borrowed chords, modal options, or guitar/piano voicings.
They are good for learning because they make harmonic patterns visible. If you generate enough progressions in the same style, you start seeing the basics: I, V, vi, IV; ii, V, I; minor i to VI to III to VII; maybe secondary dominants when the tool is a little more adventurous.
The problem is the handoff. An online generator can give you “Am F C G”, but then you still need to bring that into Live. You can drag a file if the site exports MIDI, or rebuild it in the piano roll. If the progression changes, you repeat the ritual.
That is fine for study. But when you’re trying to stay in the flow, it just is not optimal.
Best for:
- learning harmony patterns
- quick ideas away from Live
- checking chord options in a key
- writing topline sketches
Less good for:
- tight Ableton integration
- fast iteration inside an arrangement
- syncing changes back to MIDI clips
5. Use a dedicated chord plugin for Ableton, like Harmonybeam
A dedicated chord plugin makes sense when you want the chord progression itself to become the thing you edit. Not just MIDI notes in a clip, and not just a preset progression from a pack, but a malleable harmonic structure you can change quickly.
Harmonybeam is our chord progression plugin for Ableton Live, built as a Max for Live device.
The basic idea is simple. You work with chord symbols, suggestions, voicings, rhythm blocks, and MIDI clip sync in one place. You can type a progression using normal chord notation, generate progressions locally, lock parts of the structure, get intelligent suggestions, and keep the result synced to a Live MIDI clip in real time.
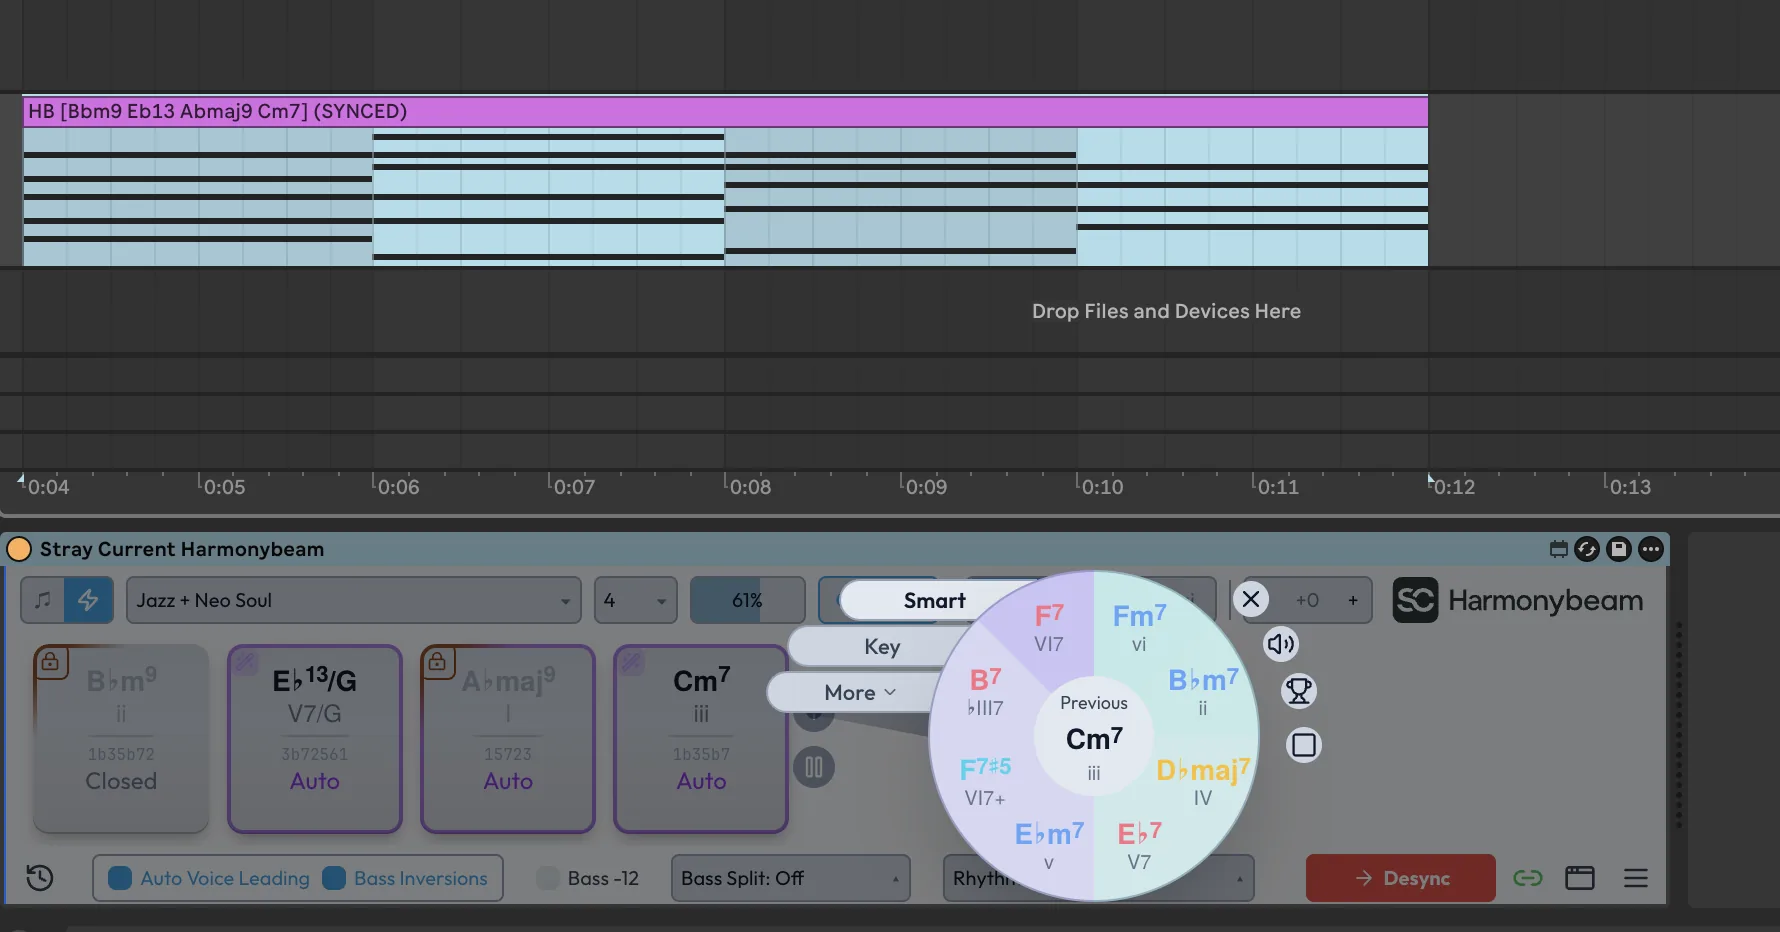
The text input is especially useful if you already think in chord symbols, or if you want to try a chord progression from a website or book quickly. You can type or paste something like:
Cmaj Am Dm Gand the progression updates immediately. Harmonybeam’s manual page for the input bar and progression generator goes into the details.
Harmonybeam’s progression generators are local and do not require an internet connection. They are built with genre-specific harmonic rules and the same data model drives the Smart suggestions, which can provide you with context-dependent chord substitution ideas. In practice, that means you can generate a progression, lock the parts you like, regenerate around them, and keep shaping the result with nearly the same speed as an experienced musician sitting at a piano.
The other part that matters is voice leading. Chords are not only names. The way notes move from one chord to the next changes the feel dramatically. A progression can be theoretically fine and still sound clumsy if every chord jumps around in root position.
Harmonybeam has Automatic Voice Leading for smoothing those transitions.
That is where a chord plugin can beat a generic Ableton chord progression generator. It is not only making a list of chord symbols. It is helping those chords dynamically turn into a MIDI clip that sits better in a track.
Best for:
- Ableton users who want a dedicated chord workflow
- writing and editing chord symbols directly and quickly
- generating progressions while keeping control over form/structure
- syncing chord changes to MIDI clips
- auditioning suggestions and voicings in context
Less good for:
- people who only want stock Live devices
- people who prefer editing every note manually from the start
- non-Ableton workflows, since Harmonybeam is built for Max for Live
Which Ableton chord progression generator workflow should you use?
If you are learning Ableton Live, start with online generators and Ableton’s stock MIDI effects. They teach you a lot, and you will understand your tools better afterwards.
If you want quick genre material, MIDI packs are still useful. They are not romantic, but neither is staring at an empty clip for forty minutes.
If you use Live 12, spend some time with MIDI Tools. They are good, especially when you are already working directly inside a MIDI clip.
If you want chord writing to feel less like piano roll surgery, use a dedicated chord device. That is the space Harmonybeam is built for: chord symbols, progression generation, suggestions, voicings, locks, rhythm blocks, and MIDI clip sync, all inside Ableton Live.
Related links
- Harmonybeam chord progression plugin for Ableton Live
- Why piano-roll editing can make chord writing cumbersome
- Voice leading in Ableton Live
- Harmonybeam 1.3: Pattern Editor and Chord Gestures
- Harmonybeam quick start
- Harmonybeam input bar and progression generator
- Harmonybeam voice leading manual
- Ableton Live MIDI Effect Reference
- Ableton Live 12 MIDI Tools
Want a faster way to write, edit, and generate chord progressions inside Ableton Live?
Explore Harmonybeam